Composting at home turns kitchen scraps and yard waste into rich soil for gardens and houseplants. This guide gives clear, actionable steps for beginners and common troubleshooting tips to keep compost healthy.
Why Composting at Home Matters
Composting at home reduces landfill waste and lowers methane emissions from trash. It also creates nutrient-rich material that improves soil structure and plant health.

Small changes—like separating food scraps—add up when many households compost. The process is low-cost and suited to apartments, suburban yards, and rural properties.
How to Start Composting at Home
Starting composting at home requires choosing a method, collecting materials, and keeping the pile balanced. Below are steps to begin simply and effectively.
1. Choose a Composting Method
Select a method that fits your space and routine. Options include a simple outdoor pile, a closed tumbling bin, or indoor vermicomposting with worms.
- Outdoor bin: Good for yards and larger volumes.
- Tumbler: Faster mixing and fewer pests.
- Worm bin (vermicompost): Ideal for apartments and small kitchens.
2. Gather the Right Materials

Compost needs a mix of ‘greens’ (nitrogen) and ‘browns’ (carbon). Greens are wet and nitrogen-rich; browns are dry and carbon-rich.
- Greens: vegetable peels, fruit scraps, coffee grounds, fresh grass clippings.
- Browns: dry leaves, shredded paper, straw, cardboard.
A good rule is roughly 2–3 parts browns to 1 part greens by volume for a balanced pile.
3. Set Up and Maintain
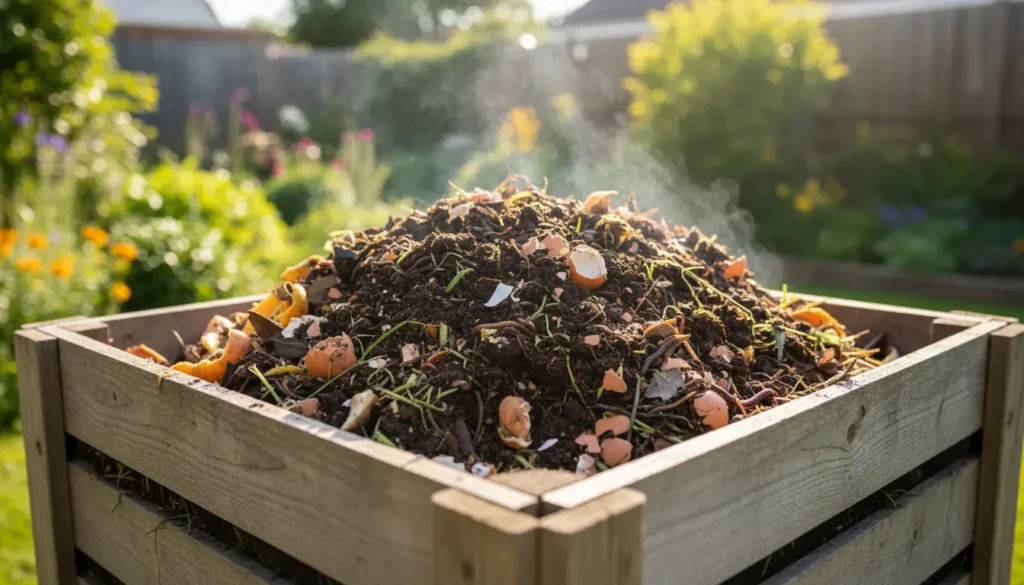
Start with a layer of coarse browns like twigs to help airflow. Alternate layers of greens and browns and keep the pile moist like a wrung-out sponge.

Turn or aerate the pile every 1–2 weeks for faster decomposition. If using a tumbler, rotate it weekly. For worm bins, avoid turning and feed small amounts regularly.
Common Problems and How to Fix Them
Compost piles are forgiving, but common issues can slow results. Use simple fixes to keep composting at home productive.
Problem: Bad Odor
Bad smells usually mean too many greens or poor aeration. Add more browns and mix the pile to introduce air.
Problem: Pests
Rodents or flies come from exposed food scraps. Use a closed bin, bury fresh scraps under browns, or use a sealed indoor container for scraps before adding to the outdoor pile.
Problem: Slow Breakdown
Slow composting can be due to low temperatures, lack of nitrogen, or compaction. Chop materials into smaller pieces, add a handful of fresh greens, and turn the pile to speed decomposition.
Managing Composting at Home Year-Round
Seasons affect compost activity. Cold weather slows microbes; warm weather speeds them up. Adjust maintenance to match conditions.
- Winter: Insulate the pile with straw or a cover, and add more greens when active.
- Summer: Monitor moisture—pile may dry out faster and need watering.
- Rainy periods: Prevent saturation by covering the pile or adding more browns.
One household that composts can divert hundreds of pounds of organic waste from the trash each year. Compost also returns essential nutrients to local soils and reduces the need for chemical fertilizers.
Small Real-World Case Study
Case Study: Emma lives in a two-bedroom apartment and started vermicomposting in a 10-gallon bin. She collected food scraps in a sealed counter pail and fed her worm bin twice weekly.
After six months Emma produced a steady supply of worm castings, which she mixed into potted plants. Her kitchen waste decreased by almost half, and plants required less store-bought fertilizer.
Quick Checklist for Starting Composting at Home
- Choose a bin or method that fits your space.
- Collect greens and browns in separate containers.
- Keep the pile moist and aerated; chop materials for faster breakdown.
- Monitor for pests and odors and adjust layers as needed.
- Harvest finished compost when it is dark, crumbly, and earthy-smelling.
Harvesting and Using Your Compost
Finished compost looks like dark soil and has a pleasant earthy smell. Sift and let any large pieces continue to decompose before using.
Use finished compost as a top dressing, potting mix amendment, or soil conditioner. Apply a thin layer around plants or mix it into planting beds to improve water retention and nutrient content.
Composting at home is a practical step toward waste reduction and healthier plants. Start small, keep the balance of greens and browns, and adapt your approach as you learn what works best for your space.


