Home Composting Basics
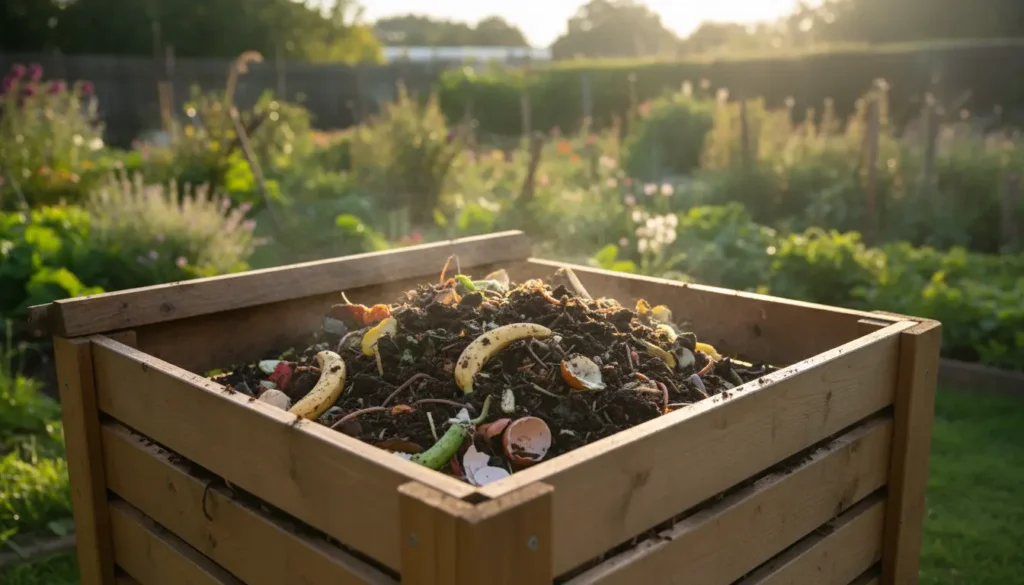
Home composting turns food scraps and yard waste into rich soil that improves plant health and reduces trash. It works by combining carbon-rich and nitrogen-rich materials and letting microbes break them down.
This guide explains simple, practical steps to start and maintain a home compost system, whether you have a backyard or a small balcony.
Why Choose Home Composting

Composting reduces landfill waste and lowers greenhouse gas emissions from organic matter. It also provides free, nutrient-rich compost for gardens and potted plants.
For beginners, the benefits include lower waste bills, healthier soil, and a useful hobby that supports sustainable living.
What to Compost: Materials to Use
Good compost needs a balance of “greens” (nitrogen) and “browns” (carbon). Aim for a roughly 1:2 ratio by volume (greens to browns) to keep decomposition steady.
- Greens: vegetable scraps, fruit peels, coffee grounds, fresh grass clippings.
- Browns: dry leaves, straw, shredded cardboard, paper, small wood chips.
- Water: compost should feel like a wrung-out sponge — damp but not dripping.
What Not to Compost

Avoid meat, dairy, oily foods, and bones in an open compost. These attract pests and slow the process.
Also avoid diseased plants, treated wood, and pet waste from carnivores in domestic compost systems.
Choosing a Method for Home Composting
Pick a system that matches your space and attention level. Three common methods work well for beginners.
- Compost bin: A simple enclosed bin keeps pests out and looks tidy. Ideal for yards.
- Tumbler: Fast and low-maintenance. Tumblers speed aeration but hold less volume.
- Bokashi or vermicomposting: Indoor options for apartments. Bokashi ferments scraps; vermicomposting uses worms.
How to Start a Compost Pile or Bin

Location matters. Place your bin on soil with partial shade and good drainage. This helps microbes and worms access the pile.
Follow these steps to start:
- Layer 4–6 inches of coarse browns (twigs or straw) for drainage.
- Add a 2–3 inch layer of greens (food scraps and fresh clippings).
- Alternate browns and greens until the bin is full.
- Moisten layers lightly and cover the top with a brown layer to reduce odor and flies.
Turning and Aeration
Aeration supplies oxygen to decomposers. Turn the pile with a pitchfork every 1–2 weeks to speed decomposition and prevent odor.
If using a tumbler, rotate it 4–8 times per week. For stationary bins, add structural browns to keep airflow.
Maintaining Your Compost
Routine checks keep the process healthy. Look for even decomposition, a pleasant earthy smell, and dampness like a squeezed sponge.
- Too wet: add more dry browns and turn to introduce air.
- Too dry: add greens or a little water and mix.
- Slow decomposition: chop larger materials and increase surface area.
Troubleshooting Common Problems
Bad smells usually mean too much nitrogen or poor aeration. Add browns and turn the pile to fix this.
Pests indicate exposed food scraps. Bury scraps under browns, use a closed bin, or switch to bokashi if pests persist.
Compost can retain moisture and reduce watering needs in your garden by up to 50 percent, depending on soil type and climate.
How to Know When Compost Is Ready
Finished compost is dark, crumbly, and smells earthy. Most backyard systems produce usable compost in 3–9 months, depending on materials and how often you turn it.
Screen or sift the compost to remove large chunks, then use it as top dressing, potting mix component, or soil amendment.
Small Real-World Example
Case study: A two-person urban household used a 60-liter tumbler for 12 months. They added kitchen scraps and coffee grounds, and shredded cardboard as brown material.
After four months of regular tumbling and balancing moisture, they produced roughly 200 liters of usable compost by the year’s end. This cut their weekly trash by a third and improved potted-plant health noticeably.
Practical Tips for Beginners
- Keep a small countertop collection container with a lid for scraps.
- Shred cardboard and paper to speed breakdown.
- Measure balance by volume, not weight — greens are heavier but smaller in volume.
- Be patient. Composting is biological and seasonal; activity slows in winter.
Final Checklist: Start Home Composting
- Choose a bin or method that fits your space.
- Collect greens and browns in separate containers.
- Layer, moisten, and aerate regularly.
- Monitor moisture and smell to troubleshoot issues.
With simple habits and a little attention, home composting becomes an easy way to cut waste and support healthier plants. Start small, observe the process, and adjust as you learn.


