Home Solar Panel Installation Overview
Installing solar panels at home converts sunlight into electricity and lowers energy bills. This guide covers the main steps, planning tips, and safety considerations for homeowners.
Why Install Solar Panels at Home
Solar panels reduce grid dependence and can save money over time. Many regions offer incentives that improve payback and make installation more affordable.
How to Install Solar Panels at Home: Planning

Start by assessing your roof, electricity needs, and local regulations. A clear plan reduces surprises during installation.
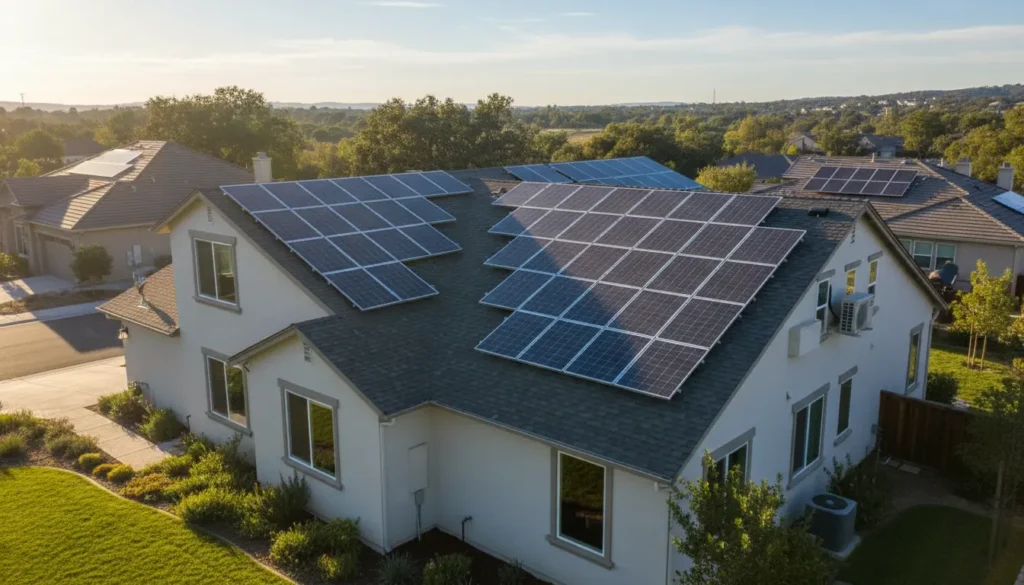
- Check roof direction and tilt: south-facing roofs work best in the northern hemisphere.
- Measure available roof area and shading from trees or nearby buildings.
- Calculate average monthly energy use from recent utility bills.
Sizing the System
Match system size to your energy use and budget. Solar system size is usually expressed in kilowatts (kW).
Estimate kW by dividing average daily kWh use by average peak sun hours in your area. This gives a starting point for panel count.
Permits, Incentives, and Regulations for Home Solar Panel Installation

Before installing, check local permit requirements and utility interconnection rules. Failure to obtain permits can delay final approval and incentives.
- Contact your local building department for electrical and structural permits.
- Talk with your utility about net metering and interconnection agreements.
- Research federal, state, and local incentives that may reduce upfront cost.
Safety and Insurance
Solar installation involves working at height and with electrical systems. Consider hiring a licensed installer for rooftop work and wiring.
Notify your homeowner insurance provider to confirm coverage and update your policy if needed.
Step-by-Step: How to Install Solar Panels at Home

This summary assumes a grid-tied system with microinverters or a string inverter. Work with a qualified electrician for electrical connections.
1. Mounting System and Flashing
Install racking and rail system anchored to roof rafters. Proper flashing prevents leaks and secures the racks.
- Locate rafters and mark attachment points.
- Install flashing and mounts according to manufacturer instructions.
2. Attach Panels
Lift panels onto rails and secure clamps or bolts. Tighten hardware to specified torque to avoid damage.
Leave access space for maintenance and cleaning.
3. Wiring and Inverters
Connect panel strings or microinverters following polarity and grounding rules. Route cables to the inverter and then to the main electrical panel.
- Use conduit and weatherproof connectors for exterior wiring.
- Install the inverter in a shaded, ventilated area near the main panel if possible.
4. Final Connections and Inspection
Complete the final connection to the main service panel and install a generation meter if required. Schedule building and electrical inspections.
Once approved, sign the interconnection agreement with your utility to turn the system on.
Maintenance and Monitoring
Solar panels need minimal maintenance: occasional cleaning and periodic inspections. Monitoring systems help detect underperformance early.
- Clean panels once or twice a year in dusty areas.
- Inspect mounts, wiring, and inverter status quarterly.
- Use monitoring apps to track daily production and spot issues.
An average U.S. household uses about 10,000 kWh per year. A 6 kW solar array can cover a large portion of that use depending on local sunlight and system efficiency.
Costs, Incentives, and Payback
Upfront cost varies by system size, panel quality, and labor. Incentives like tax credits, rebates, and net metering improve return on investment.
- Compare quotes from multiple installers to get competitive pricing.
- Factor in utility savings, expected panel degradation, and maintenance.
- Calculate simple payback: total net cost divided by annual energy savings.
Small Case Study: Real-World Example
In Phoenix, a homeowner installed a 6.5 kW roof system. The installer quoted $18,000 before incentives.
After a 30 percent tax credit and local rebate, the net cost dropped to about $12,000. The household reduced its bill by roughly $150 per month.
Estimated simple payback was around 6.5 to 7 years, with continued savings thereafter. The system required a single inspection per year and occasional panel cleaning.
When to Hire Professionals
If you are uncomfortable on a roof or unsure about electrical work, hire licensed professionals. A certified installer ensures code compliance and faster permitting.
- Use licensed electricians for grid connections.
- Hire roofers for complex roof work or structural changes.
- Request references and verify licensing and insurance.
Conclusion: Start Small and Plan Well
Installing solar panels at home is a manageable project with the right planning and safety steps. Start with a clear assessment, compare installer quotes, and follow local rules for permits and interconnection.
With careful planning, solar can provide reliable energy savings and lower your carbon footprint over decades.


