Home composting turns everyday kitchen and garden waste into nutrient-rich soil. This guide explains simple, step-by-step methods so beginners can start composting quickly and avoid common mistakes.
Home Composting Benefits
Composting reduces landfill waste and lowers household garbage costs. It also improves garden soil structure, retains moisture, and feeds plants naturally without chemical fertilizers.
How home composting helps your garden

Adding finished compost to soil increases organic matter and beneficial microbes. That leads to healthier plants, fewer watering needs, and better resistance to pests and disease.
What You Need for Home Composting
You do not need expensive equipment to start home composting. A simple bin, a mix of materials, and basic tools will get you going.
- Compost bin or DIY pile (bin types: tumblers, plastic bins, wire cages)
- Brown materials: dry leaves, cardboard, shredded paper
- Green materials: vegetable scraps, coffee grounds, grass clippings
- Water source and a garden fork or compost aerator
Choosing a compost bin for home composting
For small yards, an enclosed plastic bin or tumbler keeps pests out and looks tidy. For larger yards, an open pile or wire cage is inexpensive and effective.
Step-by-Step Home Composting Setup

Follow these clear steps to build a balanced compost pile that breaks down efficiently. Each step uses simple actions you can maintain weekly.
- Pick a spot: Choose a level, well-drained location with partial shade.
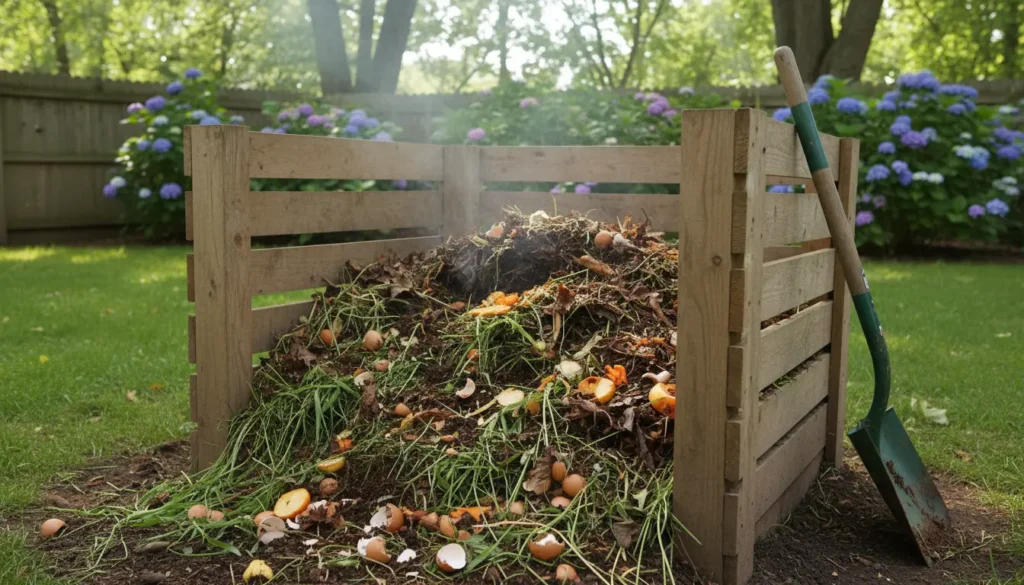
- Build a base: Start with coarse materials like small branches to improve air flow.
- Layer materials: Alternate thin layers of greens and browns for balance.
- Moisten: Aim for a damp sponge feel; add water if too dry, add browns if too wet.
- Turn regularly: Every 1–2 weeks for faster composting, or less often for slower decomposition.
Ideal ratios and practical tips
The general target is about 2–3 parts brown to 1 part green by volume. If your pile smells, add more browns and turn it. If it’s dry and slow, add water and greens.
Maintenance and Troubleshooting for Home Composting
Regular checks will keep your compost active and healthy. Address common issues quickly to avoid pests and odors.
- Smell: A rotten odor means too many greens or poor aeration. Turn the pile and add dry browns.
- Pests: Use a closed bin, bury food scraps, and avoid meat or oily waste.
- Slow breakdown: Chop materials smaller, keep moisture consistent, and turn more often.
- Too wet: Add dry browns like shredded paper and mix to increase airflow.
When is compost ready?
Finished compost is dark, crumbly, and smells earthy. Depending on the method, it may take 2 months (hot composting) to a year (slow cold composting).
Composting one ton of food waste can prevent about one ton of carbon dioxide equivalent from entering the atmosphere. Home composting directly reduces methane from landfills.
Small Real-World Example: Backyard Composting Case Study
Anna, a suburban homeowner, started a 200-liter tumbler to process kitchen scraps and yard waste. She followed a weekly turning schedule and used a kitchen caddy to collect food scraps.
After six months, Anna had 60 liters of finished compost. She mixed it into vegetable beds and reported healthier tomato plants and reduced need for store-bought fertilizer. The system cut her weekly trash by nearly 30 percent.
Simple Do’s and Don’ts for Home Composting
Keep your compost system effective with a few basic rules. These help maintain balance and avoid common headaches.
- Do chop or shred large pieces to speed decomposition.
- Do keep a balanced mix of browns and greens.
- Don’t add meat, dairy, or oily foods to open piles.
- Don’t ignore moisture — both extremes slow the process.
Using finished compost
Use finished compost as a top dressing, soil amendment, or potting mix ingredient. It improves soil texture and stores nutrients for plant uptake.
Getting Started: Quick Checklist for Home Composting
Use this short checklist to set up your first compost system in one weekend. Keep it visible to stay on track.
- Choose bin type and pick a location.
- Gather brown and green materials.
- Start layering and maintain moisture.
- Turn regularly and monitor for issues.
Home composting is a practical way to reduce waste and improve your garden with minimal ongoing cost. Start small, learn by doing, and adjust your system to fit your household’s waste stream.


