Why Home Composting for Beginners Matters
Home composting turns kitchen scraps and yard waste into nutrient-rich soil for gardens. It reduces household waste and lowers trash costs while improving soil structure and plant health.
For beginners, composting is a low-cost, practical practice that fits most homes and apartments with minimal space or effort.
Getting Started with Home Composting for Beginners

Start by choosing a composting method that fits your living situation. Options include a simple open pile, a tumbling bin, or a worm (vermicompost) bin for indoor use.
Key choices affect maintenance time, heat levels, and the final compost quality.
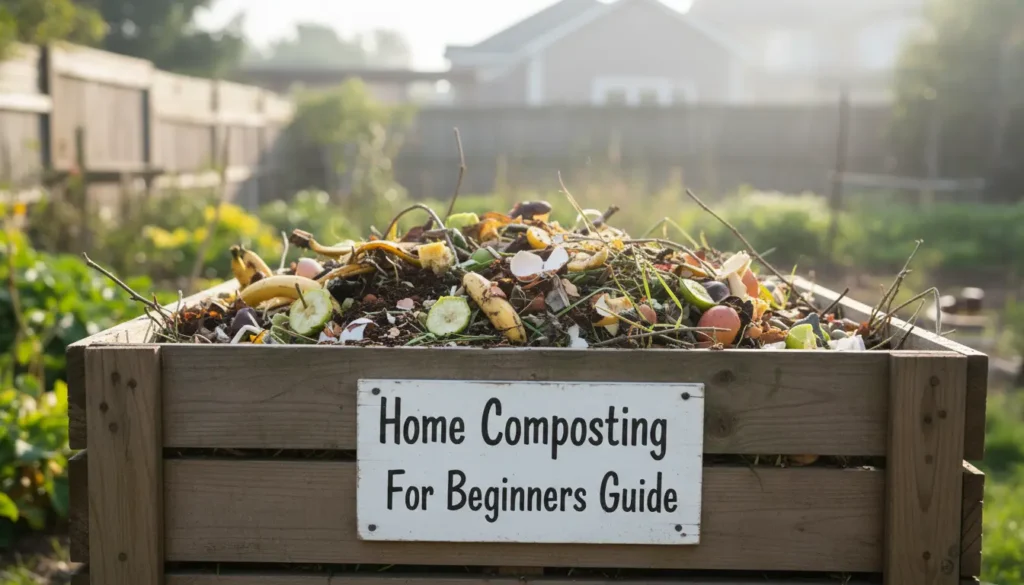
Basic items you will need
- Compost bin or container (tumbler, bin, or tray)
- Kitchen scraps and yard waste
- A garden fork or turning tool
- Water source and a breathable cover or lid
How to Build a Balanced Compost: Browns and Greens
Composting relies on a balance of carbon-rich “browns” and nitrogen-rich “greens.” Browns provide structure and carbon; greens supply nitrogen and moisture.

A simple ratio to aim for is roughly 3 parts browns to 1 part greens by volume.
Examples of browns and greens
- Browns: dry leaves, straw, shredded paper, cardboard
- Greens: vegetable scraps, coffee grounds, fresh grass clippings
Step-by-Step Process for Home Composting for Beginners
Follow these steps to start and maintain an effective compost bin that breaks down material reliably.
1. Layering and adding materials
Begin with a layer of coarse browns for airflow at the base. Alternate 2–3-inch layers of greens and 3–4-inch layers of browns as you add material.

Chop larger items into smaller pieces to speed decomposition.
2. Moisture and aeration
Compost should be as damp as a wrung-out sponge. Add water if it becomes dry, or add more browns if it becomes soggy.
Turn or aerate the pile every 1–2 weeks to supply oxygen to microbes and avoid odors.
3. Temperature and timing
Hot composting reaches internal temperatures of 120–160°F (49–71°C) and reduces pathogens and seeds faster. Cold composting takes longer but requires less work.
Typical compost is usable in 2–6 months for hot systems and 6–12 months for cold systems, depending on maintenance.
Common Problems and Troubleshooting
New composters often face a few predictable issues. Troubleshoot with simple adjustments rather than starting over.
Smelly compost
Smells indicate too much nitrogen or poor aeration. Add dry browns, turn the pile, and check moisture.
Slow breakdown
Slow decomposition can result from large pieces, lack of nitrogen, or low moisture. Chop materials smaller and add a handful of greens or compost starter.
Pests in the bin
Avoid adding meat, dairy, or oily foods. Bury food scraps under browns and keep the bin covered to deter rodents and flies.
Practical Tips for Success
- Keep a small countertop container with a lid for kitchen scraps to make collection easy.
- Shred cardboard and newspaper before adding to speed breakdown.
- Use a compost thermometer for hot systems to monitor progress.
- Save a little finished compost to jump-start new piles.
Small Real-World Example: Apartment Vermicomposting
Case: A two-person apartment generated about 1 quart of food scraps daily. They used a 10-gallon worm bin with red wigglers under a tray of shredded paper.
After two months of steady feeding and occasional water, they produced a cup of rich worm castings weekly. The castings boosted the balcony herb pots and cut store-bought fertilizer use in half.
How to Use Finished Compost
Finished compost is dark, crumbly, and smells earthy. Use it as a soil amendment by mixing into garden beds or potting mixes.
Top-dress lawns or work compost into vegetable beds at 1–2 inches depth to improve fertility and structure.
Summary Checklist for Home Composting for Beginners
- Choose the right bin for your space (tumbler, open pile, or worm bin).
- Balance browns and greens, aim for 3:1 ratio.
- Keep compost moist and aerate regularly.
- Troubleshoot smells, pests, and slow breakdown with simple fixes.
- Use finished compost to improve soil and reduce fertilizer needs.
Home composting is a practical habit that returns valuable nutrients to your soil and reduces waste. Start small, adjust as you go, and use observations to refine your routine.


