Composting at home turns kitchen scraps and yard waste into rich soil. This guide walks through practical steps to set up and maintain a home composting system that works for any living space.
Why Home Composting Matters
Home composting reduces food waste and supplies free, nutrient-rich compost for plants. It lowers household trash volume and supports healthier soil structure in gardens and pots.
Benefits of home composting
- Reduces landfill waste and methane emissions
- Creates natural fertilizer for lawns, gardens, or containers
- Saves money on store-bought soil amendments
- Improves water retention and soil health
How to Start Home Composting

Starting is simple: choose a method, gather materials, and follow basic maintenance. The right method depends on space, time, and how much waste you create.
Choose a compost method
Select a method that fits your space and schedule. Each method works with the same basic materials but differs in setup and speed.
- Open pile: Good for yards with space. Low cost but needs more turning.
- Compost bin: Contained and neater, ideal for small yards.
- Tumbler: Fast and tidy, easy to turn but more expensive.
- Vermicomposting: Uses worms for indoor or balcony composting; great for small kitchens.
Home Composting: What to Compost
Balance ‘greens’ (nitrogen) and ‘browns’ (carbon). A good ratio speeds decomposition and reduces odor.
- Greens: Vegetable peels, fruit scraps, coffee grounds, fresh grass clippings
- Browns: Dry leaves, shredded paper, cardboard, straw, woody prunings

Aim for about 3 parts brown to 1 part green by volume. Avoid meat, dairy, oils, and diseased plants in typical backyard systems.
Layering and maintenance
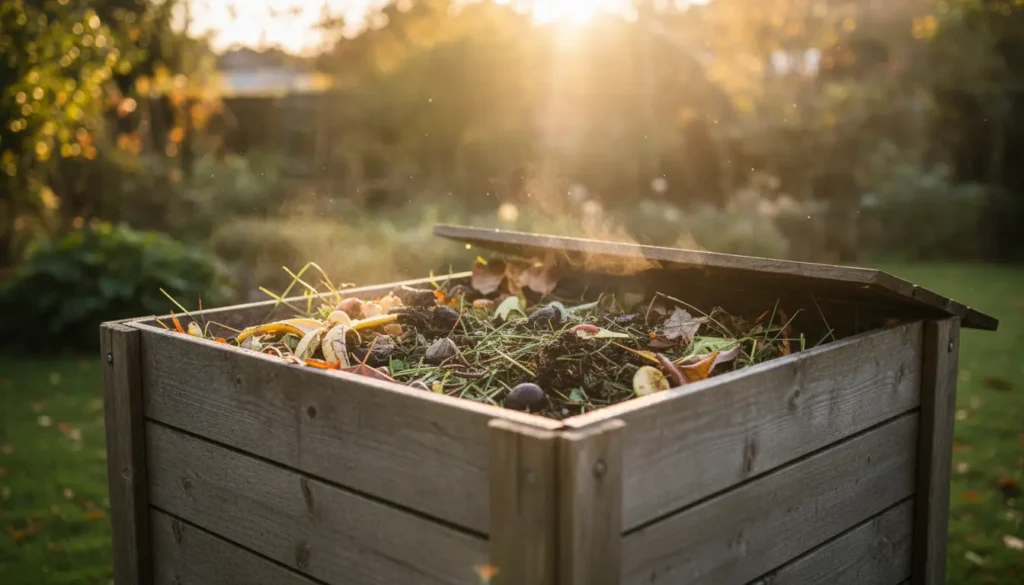
Start with a layer of coarse materials for airflow, then alternate greens and browns. Keep the pile moist like a wrung-out sponge.
- Turn the pile every 1–3 weeks to add oxygen.
- Monitor moisture; add browns if it smells, or water if dry.
- Chop larger items to speed breakdown.
Turning, temperature, and timing
Turning helps keep microbes active. Hot composting reaches higher temperatures and finishes faster, while cold composting takes months but requires less effort.
- Hot method: 55–70°C (131–158°F) when active; finishes in 2–3 months with regular turning.
- Cold method: 6–12 months, little turning required.
Troubleshooting Home Composting Problems

Common issues are easy to fix with simple adjustments.
Smells and pests
If compost smells sour or attracts pests, add more browns and bury food scraps. Use a closed bin or secure lid to deter animals.
Pile too wet or too dry
Too wet: Add dry browns and turn to increase aeration. Too dry: Add water and some greens, then mix thoroughly.
Slow decomposition
Shred or chop large items, check moisture and aeration, and add a small amount of finished compost to introduce microbes.
Small Real-World Example: Case Study
Case: Maria lives in a townhouse with a small yard and began a two-bin compost system. She collected food scraps in a countertop pail and added them to Bin A for 8 weeks. While Bin A decomposed, she filled Bin B.
Results: After 4 months she harvested 3 wheelbarrows of dark, crumbly compost. She mixed 10% compost into her vegetable beds and noticed improved soil moisture retention and healthier tomatoes the following season.
Tips for Success with Home Composting
- Keep a small indoor container with a lid to collect scraps.
- Chop or blend tough scraps to speed decomposition.
- Use finished compost as a soil top dressing or mix into potting soil.
- Keep a log or calendar for turning schedules and notes.
Using compost safely
Fully finished compost is dark and crumbly and smells earthy. Avoid using unfinished compost directly on seedlings; cure it longer or blend with potting mix.
Home composting is accessible and scalable. Start small, learn from each batch, and adjust methods to fit your household. With basic care, you can turn common waste into a valuable resource for plants and soil.


