Why choose a container vegetable garden
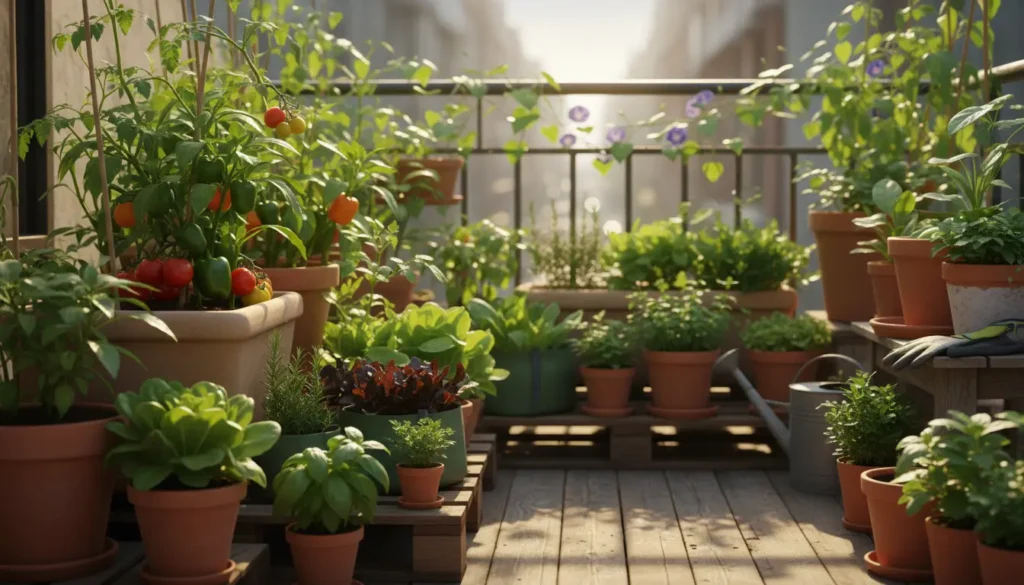
Container vegetable gardening is ideal for small spaces, patios, and balconies. It lets you grow fresh vegetables without a yard and gives better control over soil and drainage.
Containers reduce weeding and can extend your growing season if you move them to protected spots. This guide explains how to start a container vegetable garden step by step.

Many vegetables do well in containers. Cherry tomatoes, peppers, lettuce, and herbs often produce faster and need less space than full-size garden rows.
Planning your container vegetable garden
Good planning saves time and increases harvests. Start by picking a location that gets at least 5–6 hours of sun for most vegetables.
Consider wind exposure, weight limits for balconies, and access to water. Sketch a simple layout for your containers so you can move them if needed.
Choose vegetables for containers

Pick crops known to perform in pots. Short-season and compact varieties work best.
- Fast growers: lettuce, radishes, arugula
- Compact fruiters: cherry tomatoes, patio peppers, dwarf eggplants
- Herbs: basil, parsley, chives
- Root crops in deep pots: carrots, beets, small potatoes
Decide container types and sizes
Containers can be plastic, ceramic, fabric grow bags, or wooden boxes. Each has pros and cons for weight, drainage, and insulation.
General size guidelines:
- Herbs and lettuces: 6–10 inch pots
- Peppers and dwarf tomatoes: 12–18 inch pots
- Tomatoes, potatoes, and deep-rooted plants: 20+ inch containers
Soil and drainage for container vegetable garden

Use a high-quality potting mix, not garden soil. Potting mixes are lighter and drain better, reducing root rot risk.
Consider adding slow-release fertilizer to the mix or plan regular feeding throughout the season.
Drainage tips
Ensure every container has drainage holes. If the pot is decorative and lacks holes, either drill them or place a layer of gravel and use an inner pot with holes.
- Elevate pots on feet or bricks for airflow under the container.
- Line clay pots with a wetting agent or soak them before planting to prevent soil drying too fast.
Planting and care for your container vegetable garden
Planting time depends on your climate and the vegetables chosen. Read seed packet or plant tag directions for spacing and depth.
Place taller plants at the back or center and lower plants around them so every plant gets light.
Watering
Containers dry faster than garden beds. Check soil daily in warm weather by sticking your finger 1–2 inches into the soil.
Water thoroughly until water drains from the bottom. Shallow watering leads to weak roots.
Fertilizing
Because potting mixes lose nutrients after repeated watering, feed container plants regularly. Use a balanced liquid fertilizer every 2–3 weeks or a slow-release formula at planting.
Follow label rates to avoid burning roots. Leaf yellowing often indicates nutrient deficiency or irregular watering.
Pest and disease control
Containers can still get pests like aphids, slugs, or whiteflies. Check undersides of leaves and act early.
- Hand-pick larger pests or spray with a mild soap solution for soft-bodied insects.
- Improve airflow and avoid overhead watering to reduce fungal disease.
- Rotate crops in containers each season to limit soil-borne problems.
Seasonal and environmental tips for container vegetable garden
Protect containers from extreme cold by grouping them near a wall or moving them indoors. In heat, provide afternoon shade or use reflective surfaces to reduce stress.
Mulch the top of pots with straw or shredded bark to slow evaporation and keep roots cooler.
Simple tools and supplies checklist
- Quality potting mix and slow-release fertilizer
- Containers with drainage holes in various sizes
- Hand trowel, watering can or hose with gentle spray
- Support stakes, cages, or trellises for vining plants
- Mulch and organic pest control supplies
Case study: A small balcony container vegetable garden
Sarah, an apartment renter, started a container vegetable garden on a 6-foot balcony. She placed three 18-inch pots for tomatoes, two 12-inch pots for peppers, and several 8-inch pots for herbs and lettuce.
Using potting mix with slow-release fertilizer and watering daily in hot months, she harvested cherry tomatoes and basil for nine weeks straight. The setup weighed less than 200 pounds and fit the balcony weight limit.
Key takeaways: pick compact varieties, monitor water, and group pots for easier care.
Troubleshooting common problems in container vegetable garden
Yellow leaves can mean overwatering, nutrient deficiency, or root crowding. Check roots and soil moisture first.
Poor flowering often comes from inconsistent watering or lack of nutrients. Pinch early growth on herbs to encourage bushiness and more harvests.
Wrap-up and quick start plan
To start: choose a sunny spot, pick 3–6 containers, buy quality potting mix, and select 3–5 easy crops like cherry tomatoes, basil, lettuce, and peppers.
Plant, water thoroughly, and check weekly for pests and nutrient needs. With a little care, a container vegetable garden can deliver fresh produce and gardening satisfaction in small spaces.
Quick starter checklist
- Select location with 5–6 hours of sun
- Choose containers and a high-quality potting mix
- Pick compact vegetable varieties
- Plant, water deeply, and fertilize regularly
- Monitor pests and adjust care seasonally


