Why Home Composting Matters
Home composting reduces household waste and creates nutrient-rich soil for gardens and houseplants. It cuts methane emissions from landfills and helps retain moisture in soil.
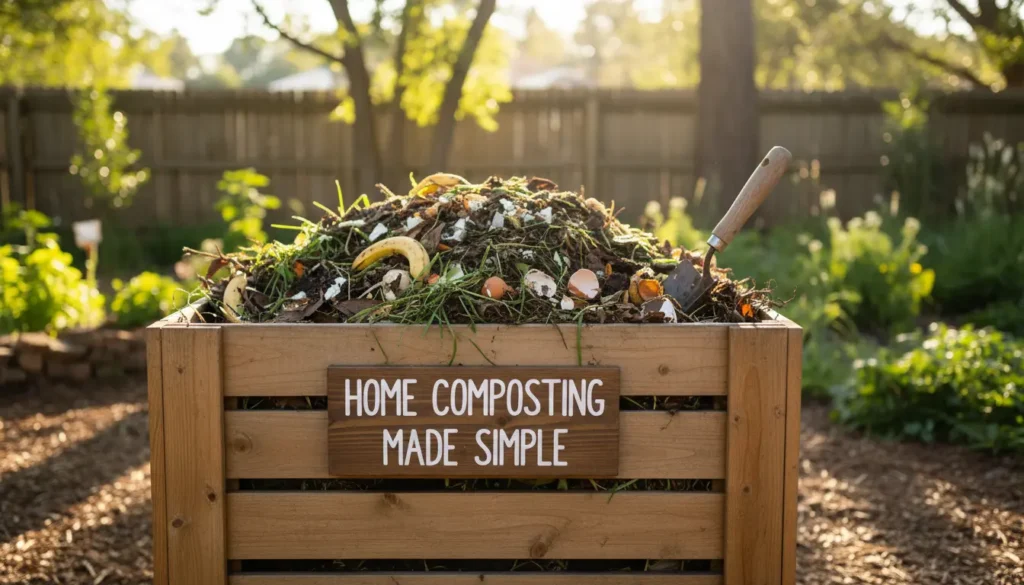
Getting started is practical and low cost. You only need a bin, basic materials, and routine care.
Basic Principles of Home Composting

Composting depends on a balance of carbon materials (browns), nitrogen materials (greens), moisture, and air. Microbes break down organic matter when conditions are right.
Maintain the right mix and you will get finished compost in a few months instead of years.
What to Compost
- Greens (nitrogen): fruit and vegetable scraps, coffee grounds, fresh grass clippings.
- Browns (carbon): dry leaves, shredded paper, cardboard, straw.
- Avoid: meat, dairy, oils, diseased plants, and pet waste in a simple home bin.
Ratio and Layering
A common rule is 3 parts browns to 1 part greens by volume. Layering speeds decomposition and controls odor.

Example layering: start with a base of twigs, add a mix of greens and browns, and finish with a dry layer to reduce flies.
Choosing a Home Composting Method
Select a method that fits your space, time, and goals. Each method has pros and cons.
Cold Composting
Cold composting is low effort. Add scraps to a bin or pile and let nature take its time. Turn occasionally.

Best for: low-maintenance households that can wait 6–12 months for finished compost.
Hot Composting
Hot composting reaches higher temperatures and produces compost faster. It requires more frequent turning and a balanced feedstock.
Best for: gardeners who want usable compost in 2–3 months and have enough material to heat the pile.
Small-Space Options
- Worm composting (vermicompost): Ideal for apartments and indoor use.
- Tumbler bins: Easier turning and faster results with good airflow.
- Compost bokashi: Fermentation method for all food waste including meat (requires a second stage soil burial).
Step-by-Step Setup for Home Composting
Follow these steps to set up a basic backyard bin. The same logic applies to tumblers and worm bins.
- Choose a location with partial shade and good drainage.
- Select a bin or build a simple frame (plastic bins or wooden pallets work well).
- Add a 4–6 inch base layer of coarse material like twigs for airflow.
- Alternate layers of greens and browns; keep the pile moist like a wrung-out sponge.
- Turn the pile every 1–2 weeks for faster hot composting; monthly for cold piles.
Monitoring and Troubleshooting
Check temperature and moisture regularly. A hot pile will feel warm in the center. If it’s dry, add water and greens. If it smells, add more browns and increase turning.
- Smells like ammonia: add carbon and turn.
- Pests: cover food scraps with brown material and avoid meat or oily foods.
- Slow breakdown: chop materials smaller and ensure moisture and aeration.
Using Finished Compost
Finished compost is dark, crumbly, and earthy-smelling. Use it to enrich garden beds, mix into potting soil, or top-dress lawns and houseplants.
Apply a 1–2 inch layer to vegetable beds each season or mix 10–30% compost into potting mixes for seedlings.
Small Real-World Case Study
Case Study: Balcony Composting in a City Apartment
Sarah, a city renter, started vermicomposting in a 10-liter indoor bin. She fed her worms vegetable peels and shredded paper, kept the bin in a cool corner, and harvested compost every three months.
Results: In six months, Sarah had enough compost to refresh six pots of herbs. Her bin reduced food waste by half and eliminated weekly food scraps from the trash.
Quick Tips for Success
- Chop or shred large items to speed decomposition.
- Keep the pile moist but not waterlogged.
- Mix or turn the pile to add oxygen and reduce odors.
- Keep a small countertop caddy for scraps and empty it daily to the bin.
Final Checklist to Start Home Composting
- Choose the method: cold pile, hot pile, tumbler, or worms.
- Gather materials: bin, browns, greens, water source.
- Set a schedule for turning and monitoring.
- Learn common signs and fixes for problems.
Home composting creates usable soil, reduces waste, and connects you with natural cycles. Start small, observe the process, and adjust your approach based on results.


