Why sourdough starter maintenance matters
Maintaining a sourdough starter keeps the wild yeast and bacteria active so your dough rises predictably. Regular care prevents off smells, mold, and inconsistent baking results.
This guide covers practical daily and weekly steps to maintain a healthy starter and troubleshooting tips when things go wrong.
Basic supplies for starter maintenance

You do not need expensive tools to maintain a starter. A few consistent supplies are enough to keep it healthy.
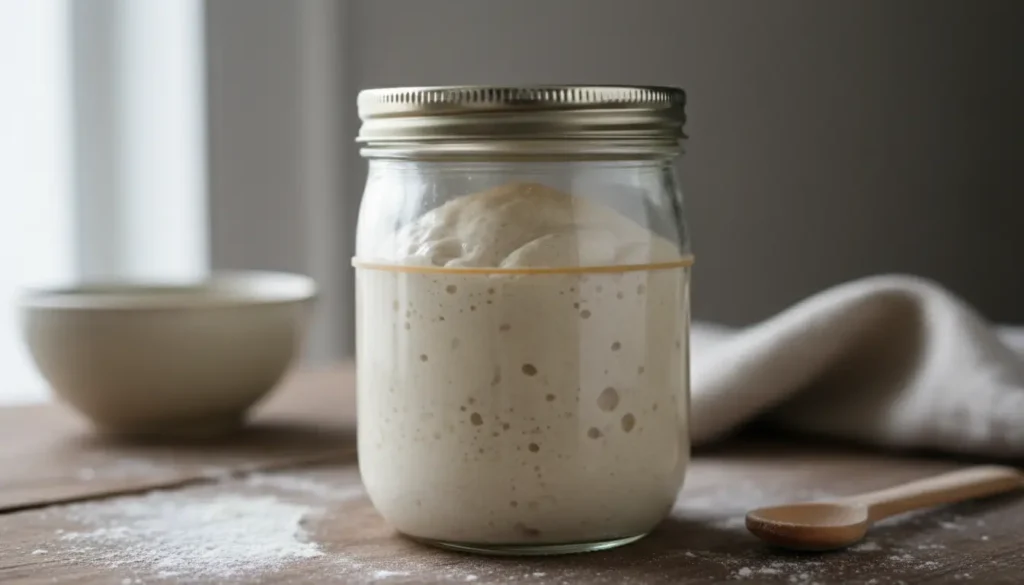
- Clean glass or plastic jar with lid
- Digital kitchen scale for accurate ratios
- Spoon or spatula for stirring
- Unchlorinated water at room temperature
- Unbleached all-purpose or bread flour (or a mix with whole grain)
Daily feeding routine to maintain a sourdough starter
For active use, feed your starter daily to keep it vigorous. Follow a simple ratio and schedule for reliable results.
Common feeding ratio
A typical maintenance ratio is 1:1:1 by weight: starter, flour, water. For example, 20 g starter + 20 g flour + 20 g water.

Adjust the ratio for volume needs. Larger builds use 1:2:2 or 1:3:3 when you need more active starter for a bake.
Feeding steps
- Discard or use a portion of the starter so you keep a manageable amount.
- Weigh the remaining starter, then add equal weights of flour and water.
- Stir until uniform, loosely cover, and let sit at room temperature until it doubles.
Weekly care and long term storage
If you bake less often, store your starter in the refrigerator. Cold slows fermentation and reduces feed frequency.
Refrigerator maintenance
Keep the starter in the fridge and feed it once a week. Before baking, bring it to room temperature and feed it twice to revive full strength.
Drying or freezing a backup

Make a dried backup by spreading a thin layer of active starter on parchment and letting it air dry. Store pieces in a sealed bag as a long-term emergency backup.
You can also freeze a small airtight portion; revive by thawing and giving multiple feedings at room temperature.
Signs of a healthy starter and what they mean
Knowing the signals helps you adjust feeding and storage.
- Active bubbles and volume rise: healthy and ready to use.
- Sour, pleasantly tangy smell: normal for mature starter.
- Clear hooch (liquid layer) on top: starter is hungry—stir or discard and feed.
- Fuzzy or colored mold: discard the starter and start over for safety.
Troubleshooting common problems
Here are practical fixes to common starter issues you may encounter.
Weak rise or sluggish starter
- Increase feeding frequency to twice a day for 2–3 days.
- Try a warmer spot (24–27°C / 75–80°F) to speed activity.
- Use a bit of whole grain flour to add nutrients and boost activity.
Strong alcohol smell or layer of hooch
Hooch is a sign the starter has used available food. Pour off the liquid, stir, and feed. Reduce time between feedings.
Mold or pink/orange tint
Discard the starter if you see fuzzy mold, or a pink, orange, or red tint. These are signs of unsafe contamination.
Wild yeast and lactobacilli in a starter create acid and gas together. The acid improves shelf life while the gas provides rise during fermentation.
Example feeding schedules
Below are two practical schedules depending on how often you bake.
- Daily baking: Feed at room temperature every 12 hours using 1:1:1 ratio.
- Occasional baking (weekly): Store in fridge, feed weekly, and refresh with two room temperature feedings before use.
Small real-world case study
Case: Anna, a home baker, kept a small starter in her fridge with monthly feedings. Her bread had inconsistent rise.
Solution: She switched to weekly fridge feedings and did two room-temperature feedings 12 hours apart before baking. Her loaves rose more consistently and had better crumb structure.
Lesson: Regular short feed cycles before baking revive yeast performance and improve results.
Practical tips for consistent results
- Weigh ingredients for accuracy rather than using cups.
- Keep a written log of feed times and ratios to track changes.
- Use filtered water if your tap is heavily chlorinated.
- Maintain a consistent ambient temperature for predictable timings.
When to refresh or rebuild a starter
If a starter becomes sluggish after long periods in the fridge, rebuild by daily feedings and discard schedule until it shows consistent doubling. That usually takes 3–7 days.
If contamination appears, it is safer to start a new culture from flour and water using a reliable recipe.
Final checklist for sourdough starter maintenance
- Keep supplies clean and use a scale for feedings.
- Feed active starters daily; refrigerate when not baking often.
- Watch for hooch, bubbles, and smell to assess health.
- Have a backup by drying or freezing a portion.
Following these clear, repeatable steps will help you maintain a dependable sourdough starter and make better bread with less guesswork. Keep a simple routine and adjust based on your baking frequency and kitchen temperature for reliable results.


