Start Composting at Home: A Practical Overview
Composting at home turns kitchen scraps and yard waste into nutrient-rich soil. This guide explains the simplest methods, essential supplies, and routine maintenance so you can start quickly and avoid common mistakes.
Why Composting at Home Matters
Composting reduces household waste sent to landfills and lowers methane emissions. It also improves soil structure, retains moisture, and provides free fertilizer for garden beds and potted plants.
What You Need to Start Composting at Home

Starting composting at home requires minimal investment. Choose a container or area, gather materials, and learn a basic feeding schedule.
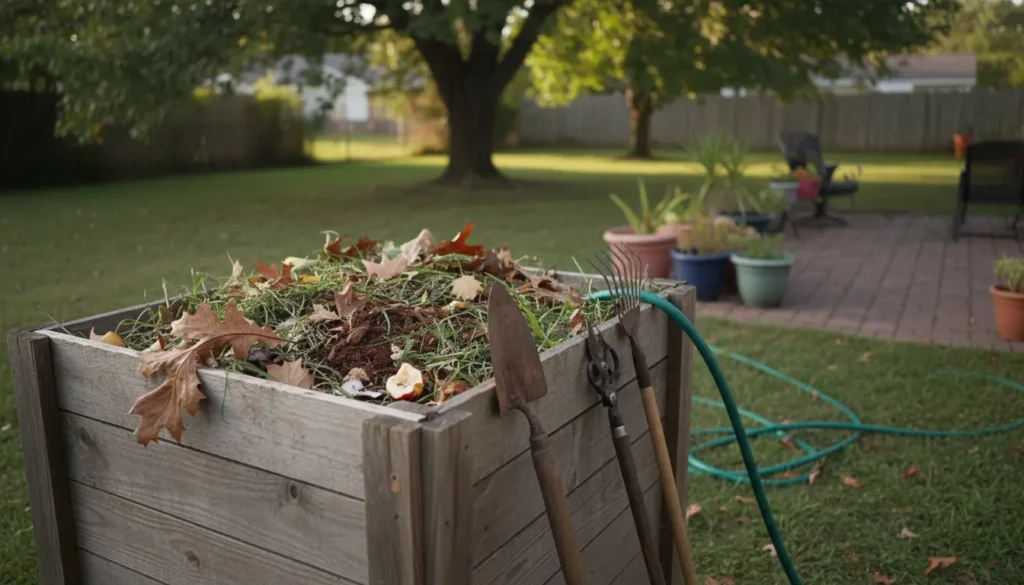
- Compost bin or pile: tumbler, wooden bin, or a simple heap.
- Kitchen scraps: fruit and vegetable peels, coffee grounds, and eggshells.
- Yard waste: dry leaves, small twigs, grass clippings.
- Water source and basic tools: a shovel or pitchfork and a watering can.
How to Start Composting at Home: Step-by-Step
Follow these steps to start composting at home in any space, from an urban balcony to a backyard garden.
1. Choose a Composting Method
Select a method that fits your space and time. Cold composting is low effort but slower. Hot composting reaches higher temperatures and faster breakdown but needs more attention.
- Cold bin or pile: Add materials and let nature do the work. Turn occasionally.
- Hot composting: Aim for a pile of at least 1m3, balance ingredients, and turn weekly.
- Tumbler: Enclosed and easy to turn, good for small yards and fast results.
- Vermicomposting: Use worms for apartment-friendly composting of kitchen scraps.
2. Balance Greens and Browns

Compost needs a mix of nitrogen-rich “greens” and carbon-rich “browns.” A common guideline is roughly 2–3 parts browns to 1 part greens by volume.
- Greens: fresh vegetable scraps, coffee grounds, green grass clippings.
- Browns: dry leaves, shredded paper, straw, cardboard pieces.
Too many greens causes odor and slow decomposition. Too many browns slows the process. Mix materials as you add them.
3. Layering and Moisture
Start with a layer of coarse material for airflow, then alternate greens and browns. Keep the pile as damp as a wrung-out sponge. Add water during dry spells and cover during heavy rain.
4. Aeration and Turning

Oxygen is essential for aerobic decomposition. Turn the pile every 1–2 weeks for hot compost or monthly for cold piles. Turning accelerates breakdown and prevents compacting.
Maintain and Troubleshoot Composting at Home
Regular checks help avoid common problems. Use simple fixes rather than starting over.
- Bad smell: Add more browns and increase turning; ensure airflow.
- Too dry: Add water and fresh greens.
- Slow breakdown: Chop materials smaller, maintain moisture, and monitor the green-to-brown ratio.
- Pests: Avoid meat, dairy, and oily foods; use a closed bin or a pest-proof container.
Small Case Study: Neighborhood Vegetable Patch
A community of six households started composting at home and shared a 2m3 bin in a common garden. Each household contributed weekly kitchen scraps and shredded paper.
Within three months the group produced dark, crumbly compost used in raised beds. Vegetable yields increased, and they reduced weekly garbage by about 40 percent. Simple rules—no meat, cover new scraps with leaves, and one person rotated the pile weekly—kept the system working.
Composting can divert up to 30 percent of household waste from landfills and return nutrients to local soil. Even apartment residents can compost using a small worm bin or bokashi system.
Quick Tips and Common Mistakes for Composting at Home
Keep these practical tips in mind to make composting at home easier and more reliable.
- Chop or shred larger materials to speed decomposition.
- Keep a small countertop bin with a tight lid to collect scraps and reduce trips.
- Layer new kitchen scraps under a cover of browns to prevent fruit flies.
- Test finished compost: it should be dark, crumbly, and smell earthy.
Tools and Supplies for Long-Term Success
You don’t need fancy equipment to start composting at home, but a few inexpensive items help maintain consistency.
- Pitchfork or compost aerator for turning.
- Thermometer for hot composters who want to monitor temperatures.
- Compost sifter to remove large bits before using the finished product.
Final Checklist to Start Composting at Home Today
- Choose a bin or spot and ensure good drainage and airflow.
- Gather a mix of greens and browns and a simple tool for turning.
- Establish a routine: add materials, monitor moisture, and turn periodically.
- Use finished compost in pots, garden beds, or share with neighbors.
Composting at home is a low-cost, effective way to reduce waste and build healthy soil. Start small, stay consistent, and adapt the routine to your space and needs.


