Why start composting at home
Composting at home turns kitchen and yard waste into rich soil amendment. It reduces landfill waste and feeds plants with nutrients naturally.
For households, composting at home is a low-cost way to cut waste, improve garden health, and learn practical resource cycles.
Benefits of composting at home

Compost improves soil structure, water retention, and microbial life. It lowers the need for chemical fertilizers and supports healthy plant growth.
Other benefits include reduced trash volume and lower municipal waste costs where applicable.
How to start composting at home: a step-by-step guide
Follow these practical steps to set up a reliable compost system at home. Each step is short and actionable.
1. Choose a composting system

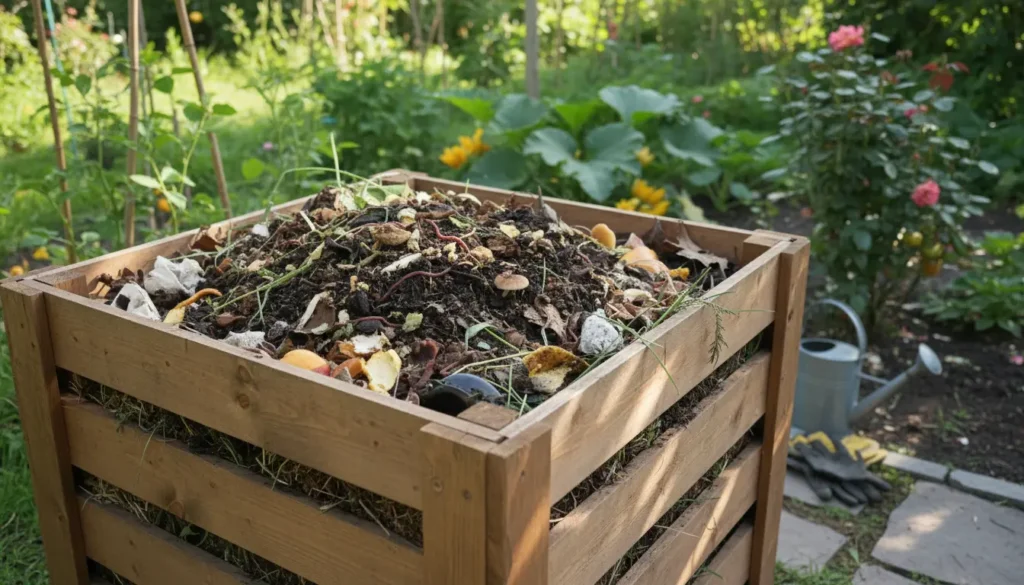
Select a method that fits your space and routine. Choices include a simple bin, tumbler, worm bin, or a compost pile.
- Backyard bin: Low cost and simple to manage.
- Tumbler: Faster mixing and cleaner handling.
- Worm bin (vermicompost): Best for small spaces and kitchen scraps.
2. Pick a location
Locate the compost where it’s convenient and drains well. Partial shade helps prevent drying out in hot climates.
Maintain easy access for adding materials and turning the pile.
3. Balance greens and browns

Compost needs a balance of nitrogen-rich “greens” and carbon-rich “browns.” Proper balance speeds decomposition and reduces odors.
- Greens: fruit and vegetable scraps, coffee grounds, fresh grass clippings.
- Browns: dry leaves, shredded paper, cardboard, straw.
A common mix is roughly 2 to 3 parts browns to 1 part greens by volume.
4. What to add and avoid
Safe additions include most fruit and vegetable scraps, eggshells, coffee grounds, tea leaves, and yard waste.
Avoid meat, dairy, oily foods, diseased plants, and pet waste to prevent pests and slow decomposition.
5. Build and maintain the pile
Start with a layer of coarse browns to help airflow, then alternate greens and browns. Keep the pile moist like a wrung-out sponge.
Turn or mix the compost every 1–2 weeks to introduce oxygen and speed breakdown for faster results.
Tools and materials for composting at home
Basic tools keep the process tidy and efficient. You don’t need fancy equipment to begin.
- Pitchfork or compost turner for aeration
- Compost thermometer (optional) to monitor heat
- Kitchen scrap container with a lid for daily collection
- Shredder or scissors for breaking down materials
Troubleshooting common problems in composting at home
If the pile smells bad, it is likely too wet or has too many greens. Add browns and turn the pile.
If decomposition is slow, check moisture, airflow, and particle size. Chop or shred large pieces and mix more often.
Pest issues
To deter pests, bury food scraps under a covering layer of browns and avoid adding meat or dairy. Use a closed bin or tumbler if pests are persistent.
Excess dryness
Dry piles slow down. Add water lightly while turning to restore moisture without making the pile soggy.
Composting at home can divert up to 30 to 50 percent of household waste from the trash, depending on your diet and yard size.
How long before compost is ready?
Composting at home can produce usable compost in as little as 2–3 months with active management. Passive piles can take 6–12 months.
Finished compost is dark, crumbly, and earthy-smelling with no recognizable food or leaves.
Small real-world example: A weekend starter case study
Maria, a homeowner with a small yard, started composting at home using a 60-gallon tumbler. She collected kitchen scraps in a lidded container and balanced them with shredded leaves from her yard.
After two months of turning the tumbler twice weekly and maintaining moderate moisture, she had dark compost to add to her vegetable beds. Her tomato plants showed fuller foliage the following season.
Practical tips to keep composting at home sustainable
- Keep a small countertop container to reduce trips and odors.
- Use fallen leaves in autumn as free browns for the winter.
- Start small: a single bin or worm crate is enough for most apartments and small yards.
- Label layers or keep a simple log to track additions and turning schedule.
Next steps and closing advice
Choose a system, gather basic tools, and begin with a manageable pile. Adjust balance and moisture as you learn how materials break down in your climate.
Composting at home is a low-risk, high-value habit. Start simple, observe, and build the system that fits your lifestyle.


